FIO Basics

Fio (flexible io tester) is what the pros and storage industry insiders use to benchmark drives in Linux. Fio is insanely powerful, confusing, and detailed; it can perform just about any sort of io generation one can think of. I’m going to give a few quick examples of how you can use it to run some quick benchmarks on drives.
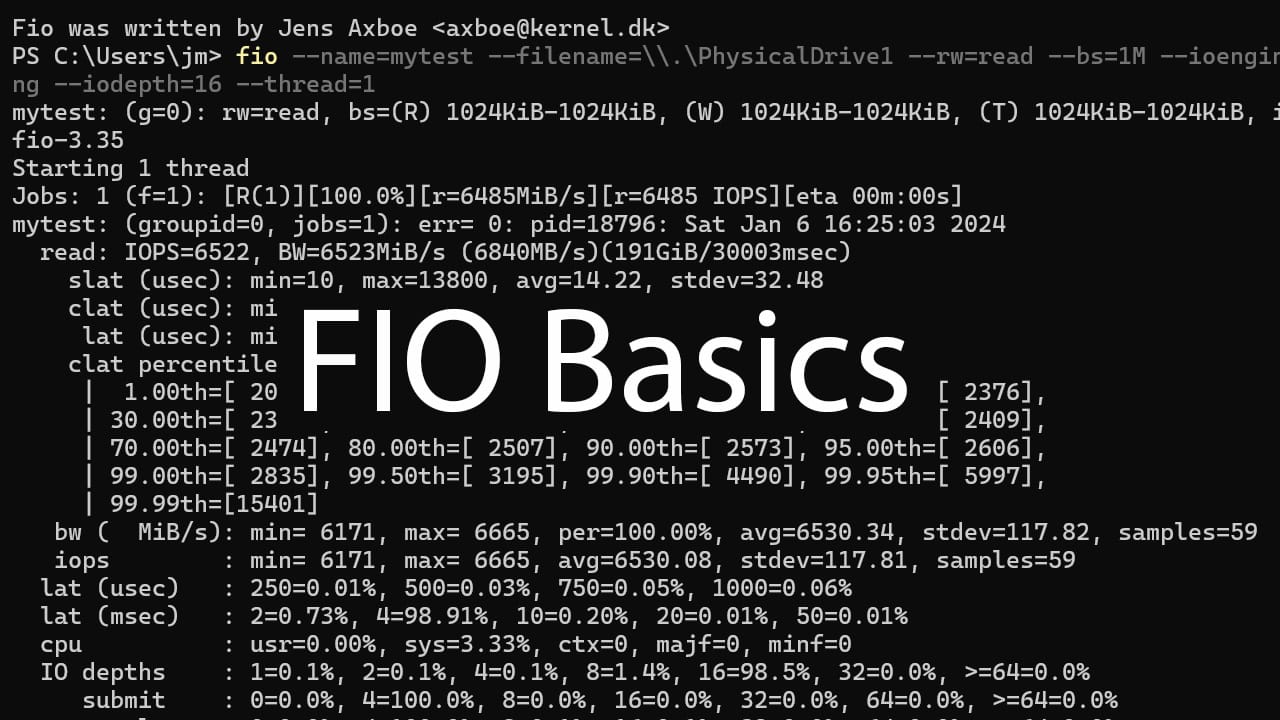
sudo apt install fioDoes FIO work in Windows? You bet! Navigate to the FIO releases page and download the installer (e.g. fio-3.36-x64.msi) and install. Now you can run fio from the powershell or windows terminal as well. Here is an example of a non destrutive read command on a raw Windows disk.
fio --name=mytest --filename=\\.\PhysicalDrive1 --rw=read --bs=1M --ioengine=windowsaio --direct=1 --time_based --runtime=30 --group_reporting --iodepth=16 --thread=1Running fio from the command line
Fio can run in two modes, command line or from a job file. Both are perfectly fine and useful in many situations. The command line is a little easier to start. Here is a sample command we can break down.
The easiest thing we can do, which is non-destructive is a sequential read command. Sequential just means the LBAs (logical block addresses) are in order. This is typical for a large file, where the filesystem puts all the data for a single file together on the disk. On an HDD most disk access will be sequential, so this is a good way to easily test the bandwidth of a drive.
sudo fio --filename=/dev/sdb --rw=read --direct=1 --bs=1M --ioengine=libaio --runtime=60 --numjobs=1 --time_based --group_reporting --name=seq_read --iodepth=16Let’s break down the commands
–rw=read: this is a sequential read, options for lots of different io workloads here
$ fio --cmdhelp=rw
                  rw: IO direction
               alias: readwrite
                type: string (opt=bla)
             default: read
        valid values: read       Sequential read
                    : write      Sequential write
                    : trim       Sequential trim
                    : randread   Random read
                    : randwrite  Random write
                    : randtrim   Random trim
                    : rw         Sequential read and write mix
                    : readwrite  Sequential read and write mix
                    : randrw     Random read and write mix
                    : trimwrite  Trim and write mix, trims preceding writes
–bs=1M: block size, is how much data is being transferred per command to the drive
–ioengine=libaio: this is the standard io engine in Linux, but you can use io_uring for best performance on kernels that support it
–numjobs=1: number of processes to start
–time_based: the test will run for whatever runtime is specified
–runtime=60: time in seconds
–group_reporting: report total performance for all jobs being run, which is useful for doing mix read/write workloads where you want to see the total disk bandwidth as well as the individual workloads
–iodepth=16: this is the queue depth, or how many commands are waiting in the queue to be executed by the drive. The host will increase io until it hits the target queue depth.
–direct=1: use direct io and bypass the kernel caching. This is really important if the test file can fit in ram, then the kernel will just read it from memory instead of the disk. Direct = 1 makes sure the reads and writes go directly to the disk
Next, we can do a sequential write. All we need to do is change –rw=write. Remember, we are writing random data to a raw disk device! This will blow away any partition table and any filesystem, because the test just starts at the beginning of the drive.
sudo fio --filename=/dev/sdb --rw=write --direct=1 --bs=1M --ioengine=libaio --runtime=60 --numjobs=1 --time_based --group_reporting --name=seq_write --iodepth=16Now if we want to test random write we can just change –rw=randwrite. Random write picks a random LBA in the entire LBA span, generally aligned to the sector size, to write data. This is much more challenging for a hard drive because the head has to physically move as the next location for every write is not known ahead. People usually think of random write workloads in IOPS, or Input/Output operations per second in addition to disk bandwidth (which are mathematically related. Bandwidth = IOPS * Blocksize
sudo fio --filename=/dev/sdb --rw=randwrite --direct=1 --bs=32k --ioengine=libaio --runtime=600 --numjobs=1 --time_based --group_reporting --name=ran_write --iodepth=16If we want to use a filesytem instead of raw device, you generally want to specify a file size so that fio doesn’t just fill up the entire disk. Just point filename at the mount point, and add size command (usually in GB)
–filename=/mnt/hdd/test.dat
–size=10G
sudo fio --filename=/mnt/hdd/test.dat --size=10G --rw=randwrite --direct=1 --bs=32k --ioengine=libaio --runtime=600 --numjobs=1 --time_based --group_reporting --name=ran_write --iodepth=16It is also useful to be able to put a workload in a job file, and then be able to easily run a bunch of jobs at once, or put it into a script.
[global]
bs=128K
iodepth=256
direct=1
ioengine=libaio
group_reporting
time_based
name=seq
log_avg_msec=1000
bwavgtime=1000
filename=/dev/nvme0n1
#size=100G

[rd_qd_256_128k_1w]
stonewall
bs=128k
iodepth=256
numjobs=1
rw=read
runtime=60
write_bw_log=seq_read_bw.log

[wr_qd_256_128k_1w]
stonewall
bs=128k
iodepth=256
numjobs=1
rw=write
runtime=60
write_bw_log=seq_write_bw.log
This script runs two workloads and writes the results to a log for easy graphing. To run just run fio and target it with the filename you saved the script. The stonewall feature allows you to run each test individually. If you remove the stonewall fio will try and run all the workloads to the drive at the same time, which is something you may want to do if you are testing read latency during writes, for instance.
sudo fio seq_test.fioSummary
Those are the absolute basics of FIO, which you can use to run any sort of workload to storage devices.
